
Day Two: Doubling Down on the Intersections
How did yesterday’s three photos turn out? How did placement change the feeling of the pictures?
I’ve always found my eyes rolling when it came to rules around conformity. Case and point: I don’t think I’ve had natural hair since 2009. When I’ve reconnected with friends, I always get a “what color is your hair today?” phone call.
I admit to being a little rebellious, but unlike my hair, this is one rule that I’m rooted in.
The Rule of Thirds isn’t about needless conformity; it builds upon how our eyes naturally operate. It’s a powerful tool and I’m so excited to share these tips and tricks with you.
Yesterday, we looked at the grid and broke it down: we played around taking photos using a vertical line, horizontal line, and an intersection.
Today, we’re going to focus on those intersecting points.

The four yellow circles highlight the Intersections in the photo grid
Personally, when taking portraits, I think of these four spots as my “focal points,” or where I want a viewer’s eyes to visit the most.
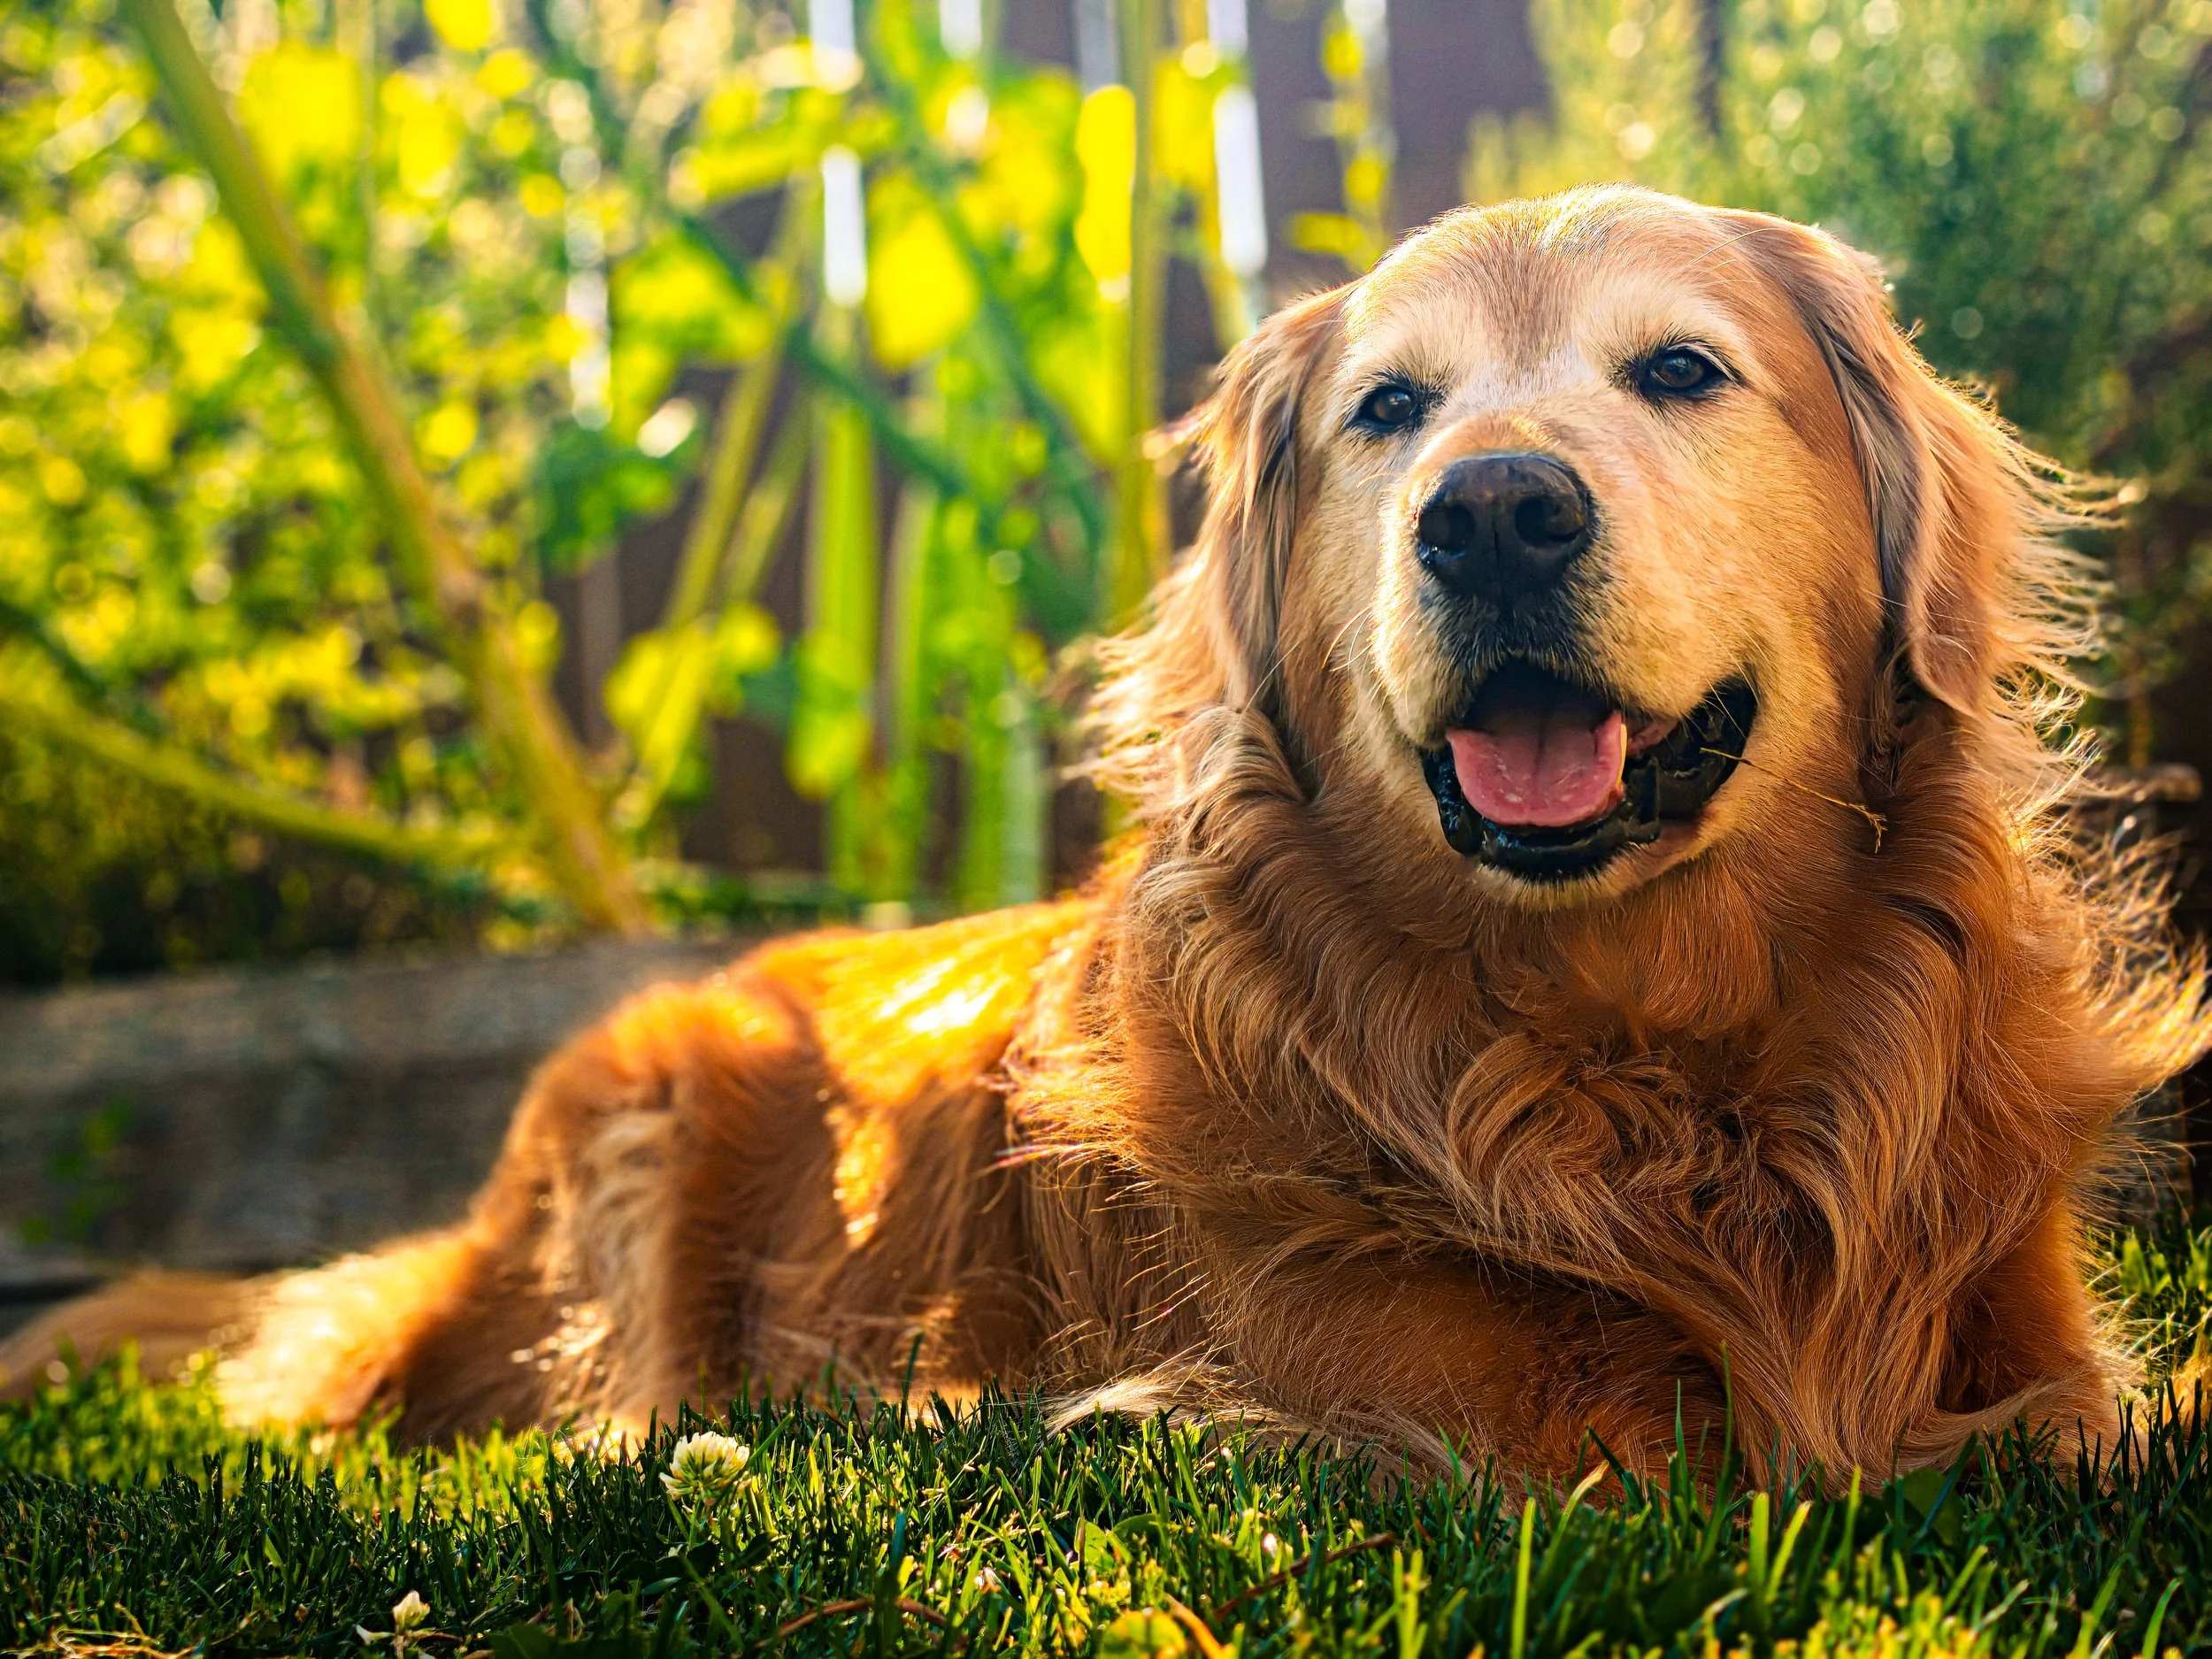
Jasper’s face, and specifically his eyes, align with the top right intersection. His relaxation is felt instantly thanks to this placement.
When taking a close up portrait, I’ll usually try to align an eye with one of these intersections. If I’m further away, I’ll usually try to align the subject’s face at one of the points. These are the spots eyes naturally fall and spend the most time examining. Placing soulful eyes or a relatable face in these spots can help build connection with the photo.
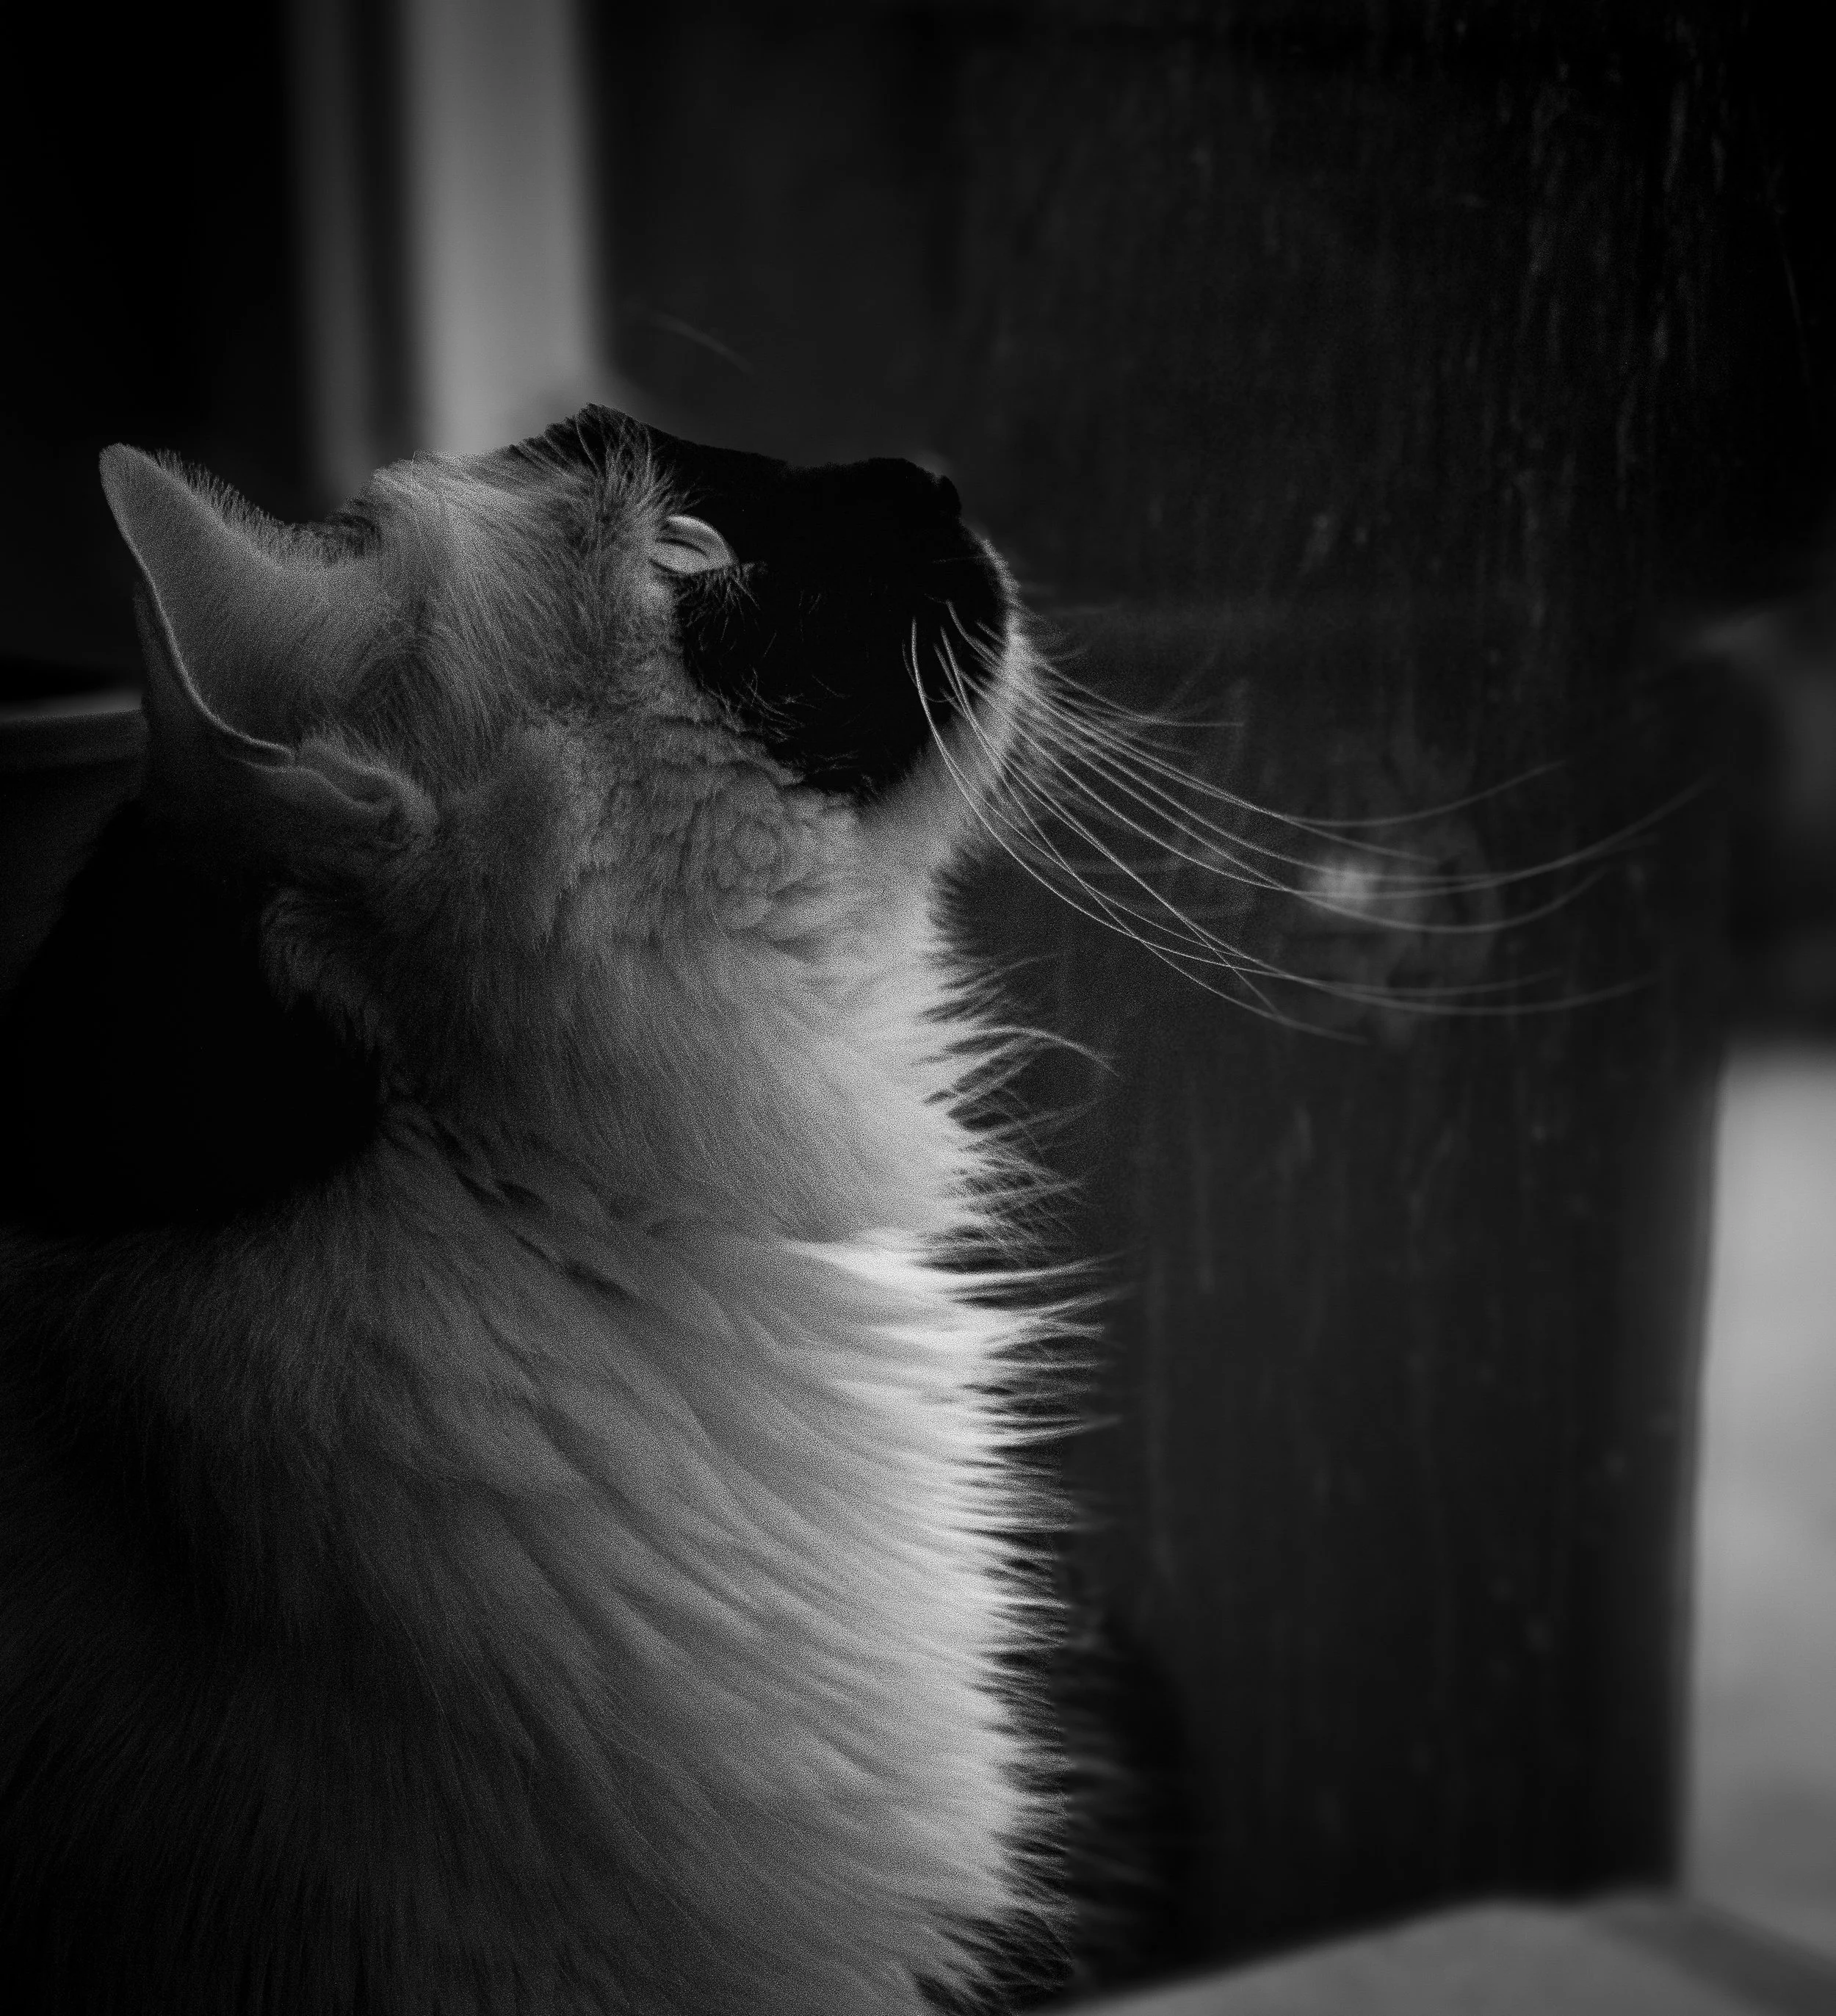
A shot of Moo’s eyes near the intersecting point. The placement draws focus to his wistful expression
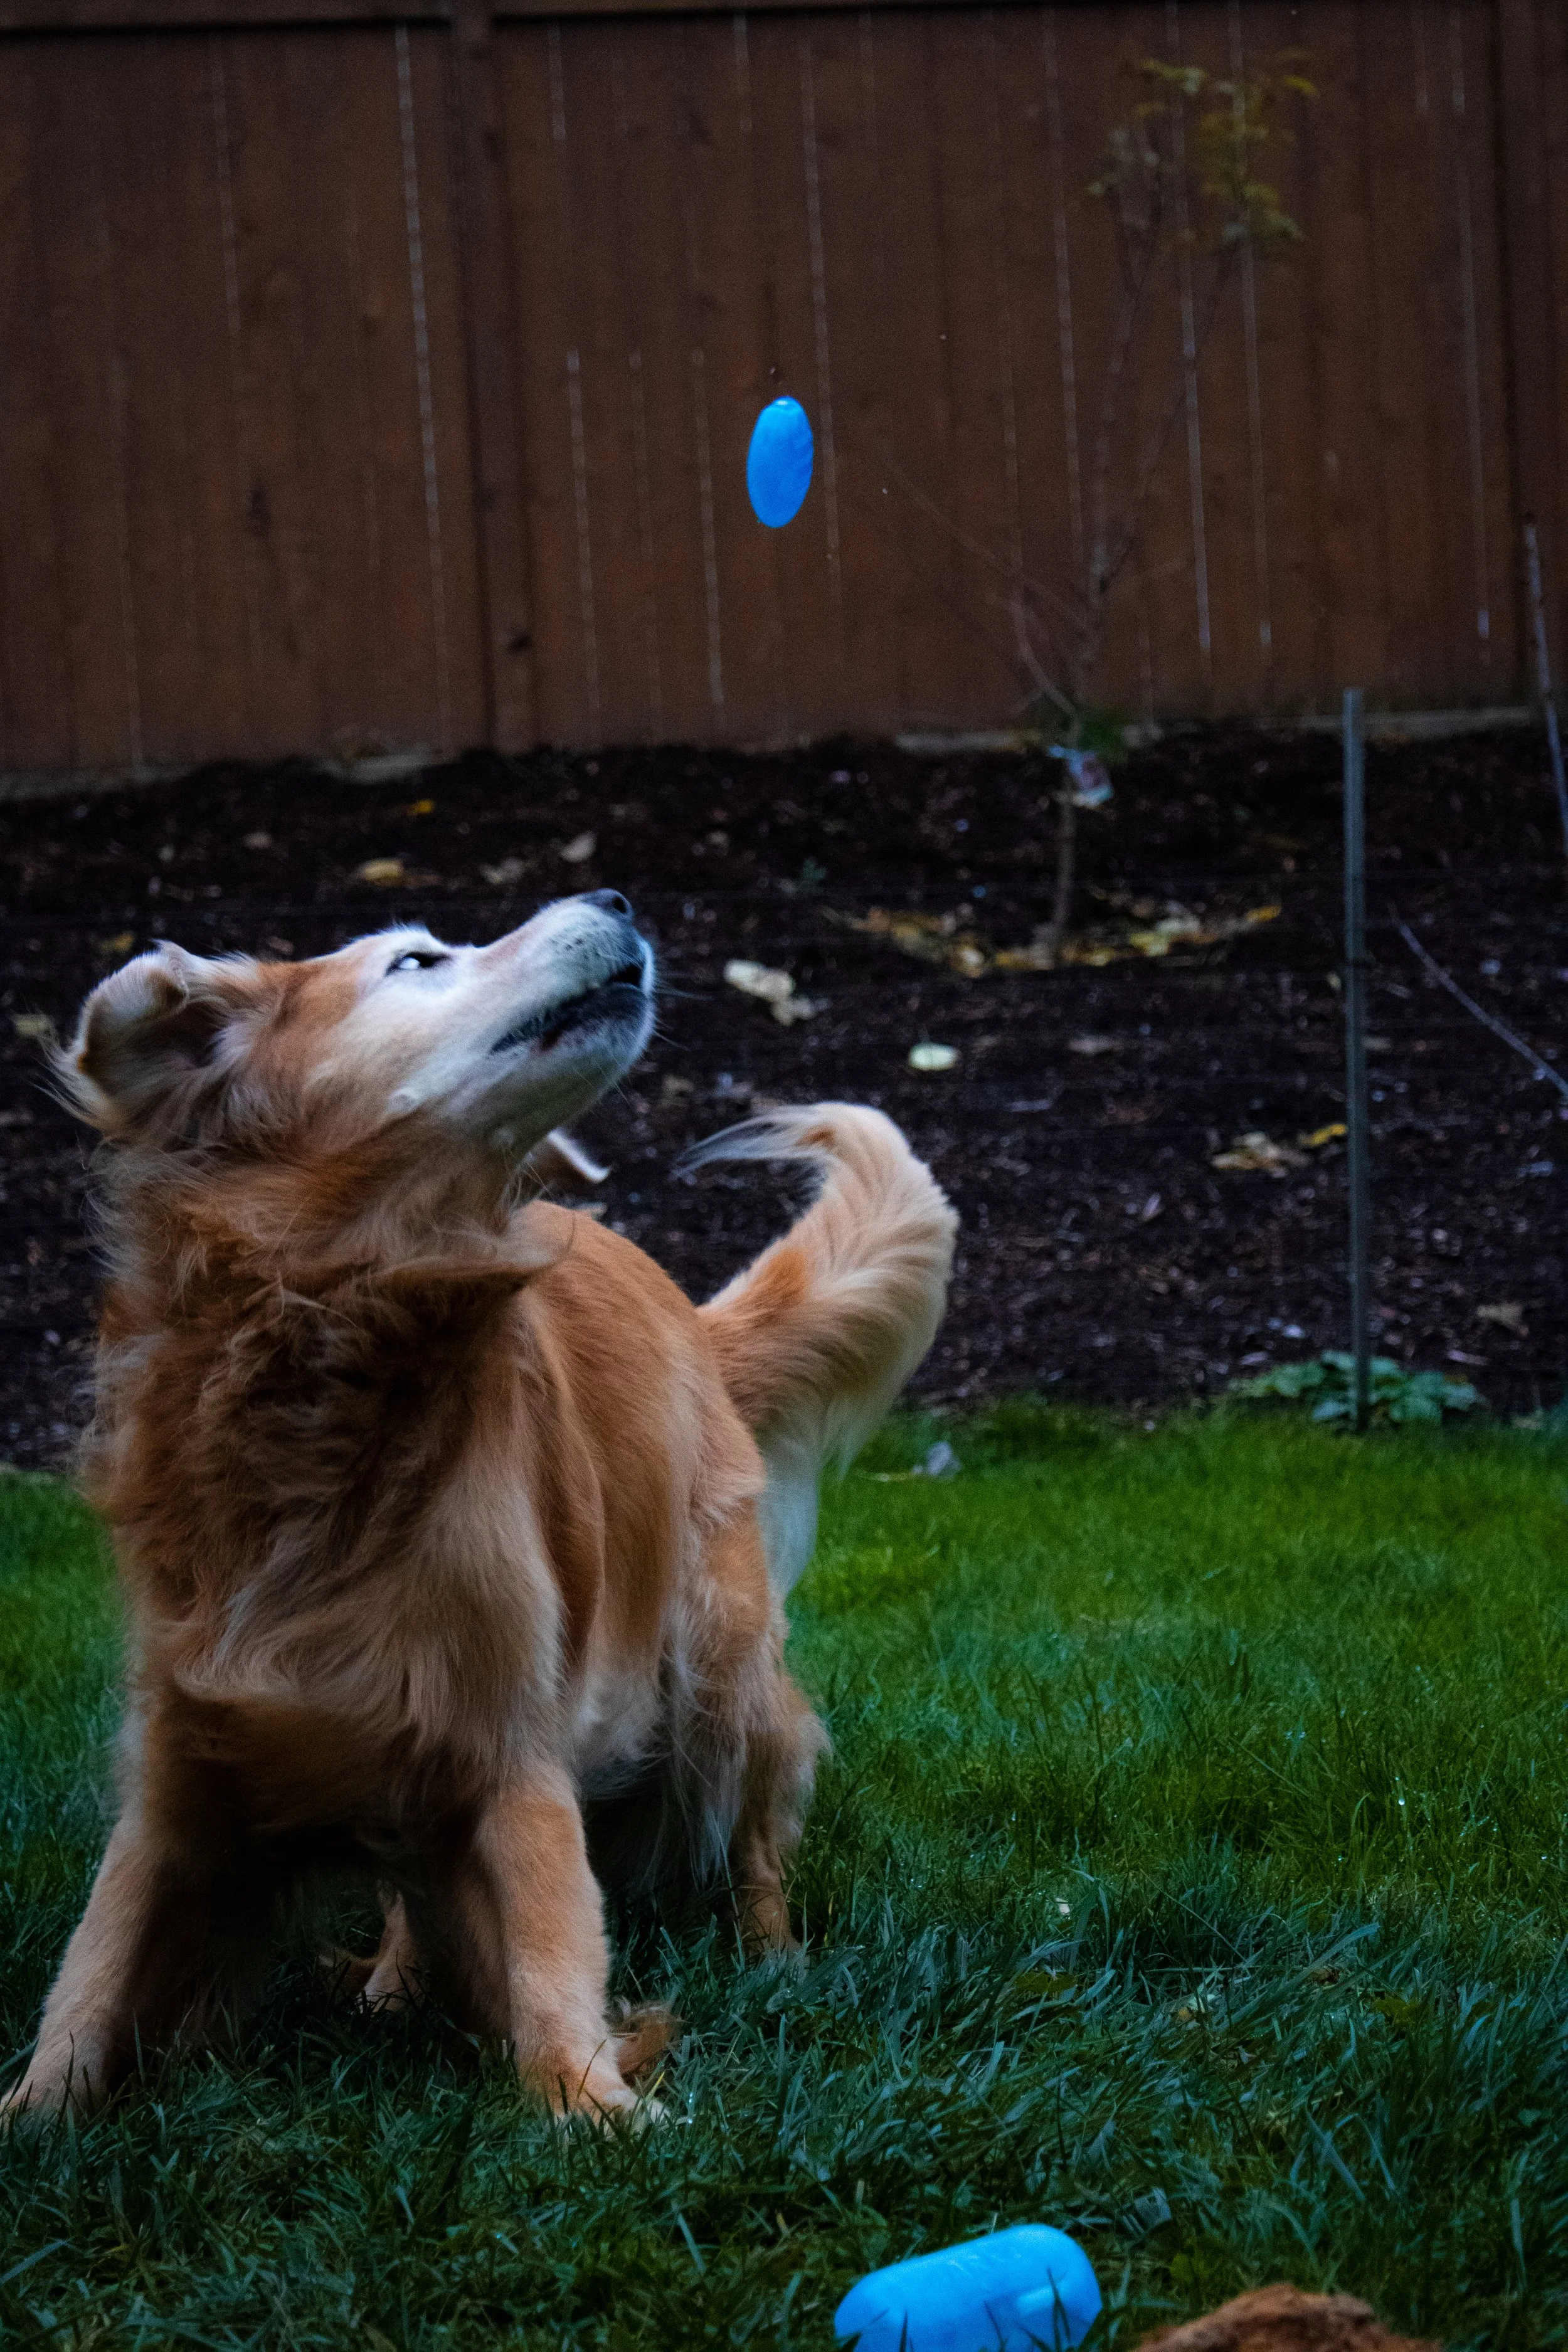
The fun thing about using these intersections is that there’s a lot of captivating ways to frame your subject: Are you close enough to see the glimmer in their eye? Or, across the room far enough to see their smile reaching their eyes? Perhaps you take the picture from a low angle and see a new power in their gaze.
Let’s talk about today’s challenge.
Today’s challenge can be a very creative one. This three-part series is about building on portrait-taking skills so you can share those magical moments that make our daily lives sparkle.
I encourage you to experiment with angles and distance for this challenge. Sometimes changing something as small as the angle that we look at something can bring a radical difference to our perspective.
Remember: your phone doesn’t shoot on film: if you don’t like it, you can delete it afterwards.
Photography takes practice to master. Perfection isn’t the goal. Focus on developing your skills without chasing an ideal.
Here’s your challenge:
Take 10 pictures of yourself or a (furry) friend. Experiment with different intersection points.
For People Portraits
Focus on the top two intersection points
Place eyes or face at these points
Experiment with different distances from subject
For Pet Portraits
Experiment with all four Intersection points. (Critters are flexible!)
Try placing their eyes or faces at each point, see what works best!
Experiment with different angles
Don’t worry about perfection. Instead, focus on how the placement changes the feeling of each photo.
Please comment and tell me what surprised you! I’d love to see your photos.